


Custom Vivarium Background Guide
How to build great looking backgrounds for Vivariums & terrariums

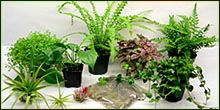
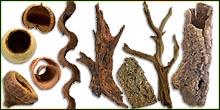
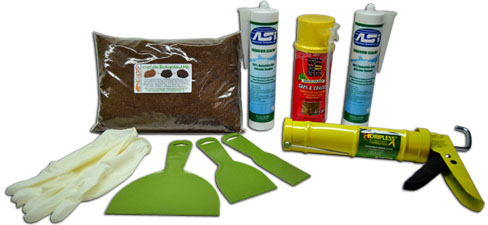
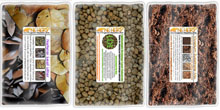
What you'll need to build your own
We stock everything you'll need to get the job done right!
Estimated Cure Time: 5-7 Days
Discounted NEHERP Custom Background Kits start at just $22.49!
Step 1: Initial Silicone Layer
This ensures the background will stick well to the glass, and also offers a good way to conceal the foam work from view
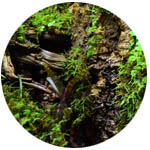
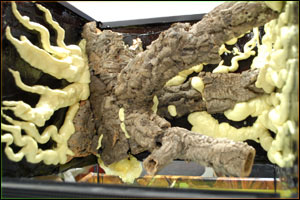
Step 2: Foam & Decor
Positioning & mounting all the decor for hardscaping
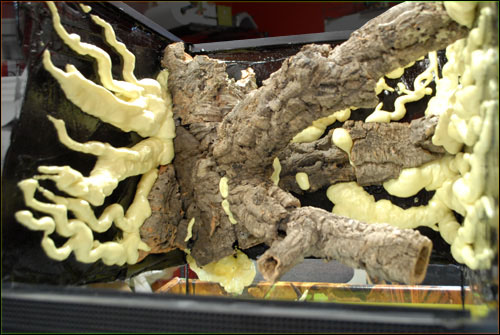
Pond foam is an alternative option we've seen being used lately. Considering it's about 300% more expensive and gets covered with silicone & background mix anyway, we recommend (and use!) the usual Great Stuff product. Furthermore, in our experience, pond foam expands more than the standard Great Stuff foam, which makes it a little more difficult to work with.
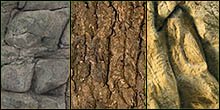
Step 3: Silicone & Texturing
The most difficult part, and the last step before things start to look right aesthetically
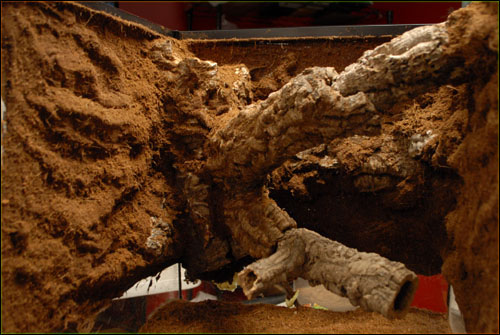 This is the most difficult step of the project, and it will require appropriate preparation for the best result. For this reason, it's critical to ensure you have everything ready to go before you begin to apply silicone.
Step 4: Trim Work + Touch-Ups
It's all downhill from here!
 At this point, we have what looks like the beginnings of a nice custom background, although the edges & Background Mix coating may not quite be perfect yet. From here, any missed spots with bare foam or silicone showing can be carefully touched up with a thin layer of silicone & Background Mix. As always, try to limit the silicone application thickness to 1/8" or less, to ensure it can cure quickly & completely. If any pointed edges of foam are sticking out past the silicone, they may be difficult to cover up effectively. In this case, carefully removing the edge using a crafting knife or razor will allow for a nice, flat surface. At that point, a repair of silicone + more Custom Background Mix is an easy task.
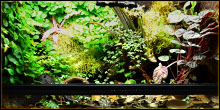
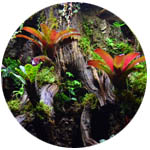
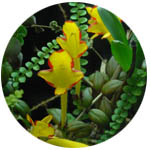
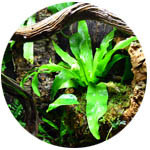
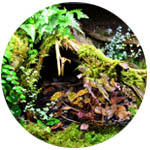
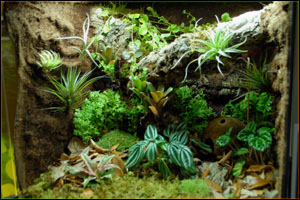
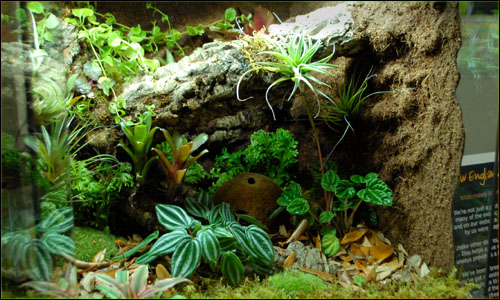
Step 5: Custom Vivarium / Terrarium Background Completed!
Plant It, Seed It, and Enjoy!

Thanks for choosing us as your vivarium info source!
We hope you'll choose us as your vivarium supply source, too! 
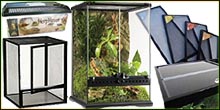
Vivarium-Related Kits:
 Base Kits
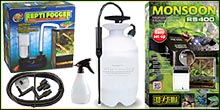
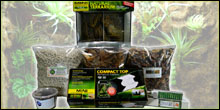 Complete Kits
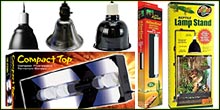
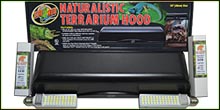 Lighting Kits